How to Create Your LinkedIn Profile Picture Using AI

Mike Stuzzi
A professional LinkedIn profile picture is what you need to make a strong first impression and establish credibility in the professional world. Your picture is often the first thing people see when they visit your LinkedIn profile and it can shape other people’s perception of you.
With technological advancements, creating a high-quality profile photo has become easier than ever. Thanks to the power of artificial intelligence (AI), you don’t even need to go to the studio for photoshoots.
Numerous AI headshot generators exist nowadays and help you create enhanced, visually appealing, and professional-looking profile pictures from your regular photos.
This guide will explore how to create your LinkedIn profile picture using AI. By the end of this guide, you’ll have the knowledge and tools to create an impressive AI-generated headshot photo that will make your profile stand out on LinkedIn.
Read also:
How AI Tools for Generating Headshots Work
It would help that I tell you right now how AI tools for headshots work. What happens is that they need you to upload a few of your own pictures, preferably selfies, that the AI can refer to.
The AI tool first detects and locates faces within an uploaded image. Based on its training, it can analyze patterns and shapes in the image to identify regions that are likely to contain faces and facial features.
The AI will then use the images you've added to generate headshots that look like you. The only changes you'll see are the clothes it puts on you and the backgrounds.
Steps to Create an AI-Generated Headshot for LinkedIn
Let’s now begin on how to create an AI-generated LinkedIn profile picture!
1. Choose the Right AI LinkedIn Headshot Tool
When it comes to selecting an AI tool for creating your LinkedIn profile picture, it's wise to conduct thorough research. You need to look for reputable AI tools specifically designed for headshot generation and enhancement.
It would help to pay attention to the features that a specific AI headshot generator offers. Look for tools that provide accurate and quality headshots with options to change backgrounds and clothing (you don’t need to buy a new outfit or go to a specific location, how cool?).
Most tools can produce multiple headshots for you to select from, and you can go with a tool that creates as many as you need. It could be anything from 10 to 100 or more of them.
The turnaround time is another important thing to consider, depending on how soon you need the photos. Some tools can take less than an hour while others can take a few days.
Additionally, take the time to read user reviews and testimonials. These can provide valuable insights into the effectiveness and reliability of the AI tool you want to choose.
Now, I’ve already written about the best AI headshot generator tools and you can refer to the review article for ideas on which one to use. Here are my top picks:
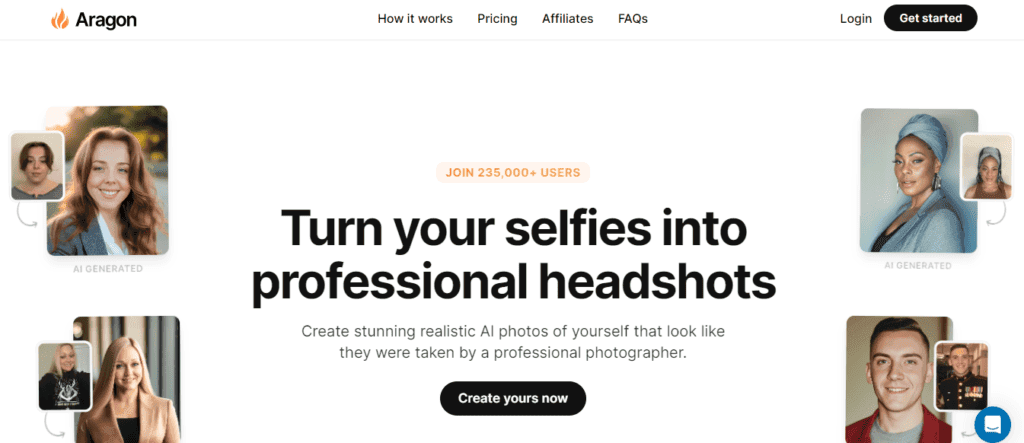
Aragon AI:
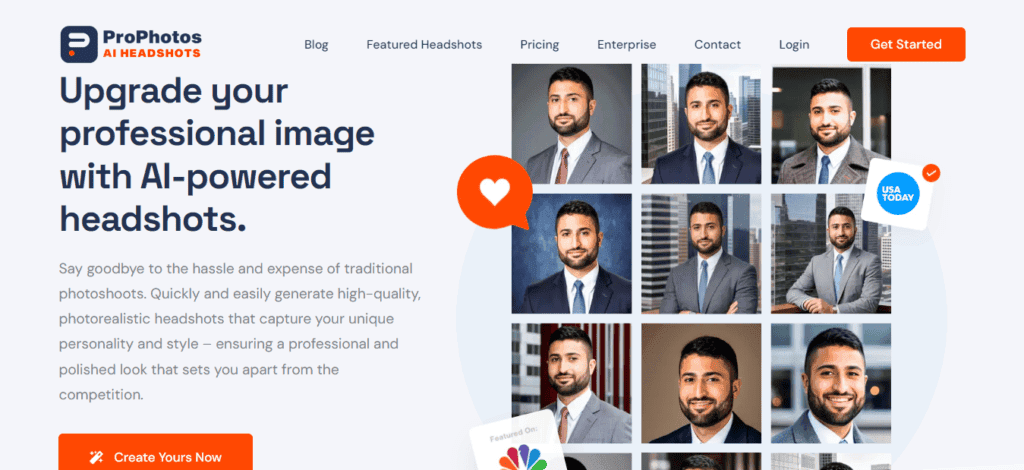
ProPhotos:
Secta Labs:

2. Prepare Your Photos for Uploading
Below are the tips to select the best photos for uploading to your chosen AI tool for headshots:
- Select a high-quality photo: Start by choosing a high-resolution photo that is clear and well-focused. Avoid using low-quality or pixelated images as they can negatively impact the final result.
- Ensure there’s good lighting and clear visibility of your face: Choose a selfie taken in a well-lit environment or one that utilizes natural light to eliminate harsh shadows or uneven lighting on your face. Ensure that your face, eyes, and hair are clearly visible with no obstructions or distractions.
- Crop the photo to focus on your face: You can crop the photo to focus primarily on your face. Cut out any unnecessary background elements that may divert attention from your face because the goal is to have a clear and centered AI-generated headshot that highlights your facial features.
3. Upload Your Photos to the AI Tool
Once you have selected the AI tool you want to use, the next step is to locate the option to upload your photo. You simply have to click on an "Upload" or "Choose File" button within the chosen AI tool's interface and then select the high-quality photo you prepared earlier from your device's storage.
After uploading your selfies to the tool, you’re required to wait for it to process the headshots. As soon as they’re ready, the tool notifies you.
4. Apply Your Customizations
There are various customizations that most AI tools for generating LinkedIn headshots offer. Besides things like gender, you can also choose your desired background and clothing styles for the headshots.
You could go with a solid color background like red or select a professional-looking virtual background. Consider selecting a background that complements your overall professional image and aligns with the industry or field you are in.
What’s more, some tools allow you to choose a professional clothing style that reflects the image you want to portray to potential connections and employers. Some examples are a safety helmet and reflective jacket for engineers, a white coat for doctors, or a suit for almost any profession in the world.
Below are pictured examples of what I’m talking about from Try it on AI, one of the top AI headshot generators:

5. Review and Refine the Results
Depending on the AI tool in use, you may be able to refine your AI-generated LinkedIn photos in the following ways:
- Adjust brightness, contrast, and color balance
- Remove blemishes or imperfections like eye or hair color inconsistencies
- Apply filters or effects (if desired) that suit your professional image while still maintaining a natural look
All in all, take your time to adjust the settings until you are satisfied with the results before you download them. But in most cases, you can automatically find several good-looking AI-generated headshots since most generators process dozens if not hundreds of them for you.
6. Upload Your AI-Generated Headshot to LinkedIn
You simply need to go to LinkedIn, enter your login credentials (email/phone number and password), and add the new photo. Once you are logged in, click on your profile picture in the top corner of the LinkedIn homepage to edit it.
Select the downloaded AI headshot photo from your device's storage and upload it as your new profile picture. LinkedIn will then process the headshot image and display it as your profile picture.
It's important to note that LinkedIn has specific guidelines for profile pictures, such as ensuring that the photo is a clear image of your face, without any filters or excessive editing. Make sure that your edited photo adheres to these guidelines to avoid any issues with your profile picture on LinkedIn.
Conclusion
As you can see, utilizing AI technology to create a LinkedIn profile picture offers a convenient and efficient way to solidify your personal brand image. Unlike the case of human photography, you spend less money and don’t have to wear specific clothing or go to particular locations to have your headshots taken.
Read also: How to Generate Images Using AI